Background
I have been clouded in for quite some time so I thought I would spend some time putting together a how-to on the creation of my higher resolution moon mosaic image to expand on my original post from when the data was captured back in August ’15.
While i have the option to take full frame images of the moon using my canon 70D (20.2MP), the problem is that single images don’t tend to be very clear, or sharp. The basis of planetary imaging is “lucky” imaging, where you take uncompressed video to capture many frames of the object to then find those moments of clear seeing and then stack those momentary frames to produce the final image, however taking video via the 70D has some issues :
a) a resolution limit of 1080 x 720 framing, hardly hi-res by todays standards,
b) using a 5472×3648 pixel sensor to generate a 1080×720 video there will be pre-processing (downgrading) of the data, which is not ideal, and,
c) the native canon format is .mov – even more lossey compression,
however there is a solution.
The capture software that I use for the 70D, BackyardEos, records in uncompressed .avi format and has another nifty feature – you can capture the video at 5x zoom. Using this option is the same as using region of interest (ROI) on planetary cameras, whereby it only uses the necessary portion of the sensor to generate the video and at 5x this is at the native pixel scale of the sensor – therefore you end up with an .avi video at correct pixel scale, so you are capturing as close to raw video data as you are going to get with a DSLR.
The trade off is that using the 5x zoom you are not going to get the full disc in the field of view, only a portion, therefore to create an image of the full disc a mosaic is required, i.e. individual sections of the moon surface are imaged and then these are stitched together to generate the final high resolution image. Using the setup outlined I needed 15 frames in a 3×5 grid which ended up producing an 18MP image.
Equipment and Software Used
- Canon 70D controlled by BackyardEOS @ 5x zoom
- GSO 6″ RC with 0.75x reducer
- HEQ5 mount controlled by EQmod
- Stellarium, AutoStakkert!2, Microsoft ICE, Registax6, Photoshop
Planning the session
For any mosaic, planning is critical so that you know what you are going to do and how many frames are needed for the target. I used Stellarium with the Ocular plugin to determine the field of view I was working with and traced the placement over the moon disc, also allowing for overlap between frames to allow the stitching program to work properly, so that I knew where to place key features in the field of view for each frame.
Video Capture
Once the framing requirements were worked out, it was then a case of capturing video of each of the necessary sections, an example video is shown here (in a compressed format for website display) which gives an idea of the effects of atmospheric conditions, which are the reason behind the lucky imaging philosophy. I displayed this particular video as it contains another ‘lucky” capture about a quarter of the way in, which is pretty hard to miss – unless you don’t review things until after the session is completed :). Once I can get them to upload, there will be a section at the bottom of the page where each of the original .avi video segments can be downloaded if you wish to play with the data.
Stacking in AutoStakkert!2
Each of the 15 videos was run through AutoStakkert!2 to produce a stacked .tiff file of the best frames from the respective videos, a guide to this process will follow shortly.
What I ended up with was :
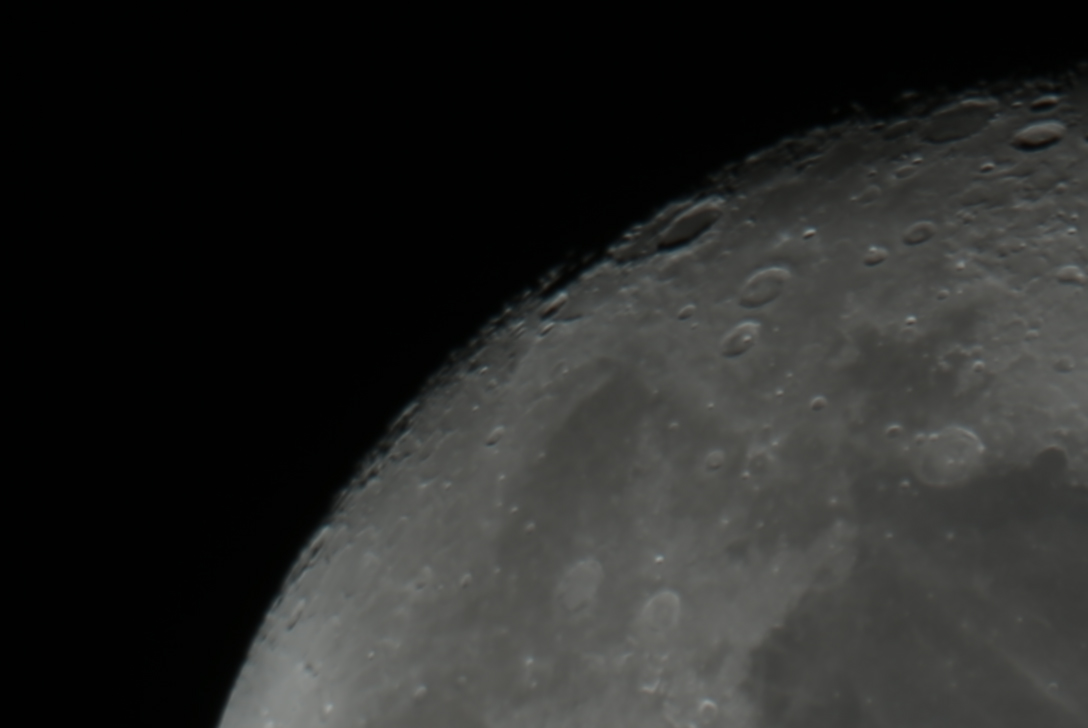
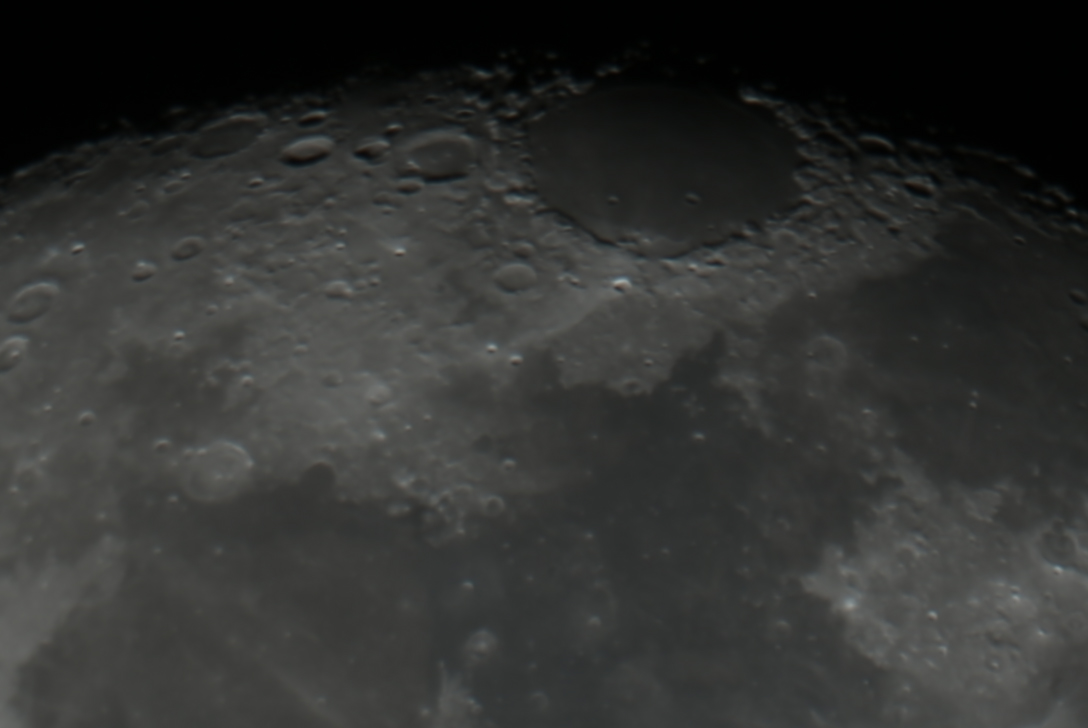
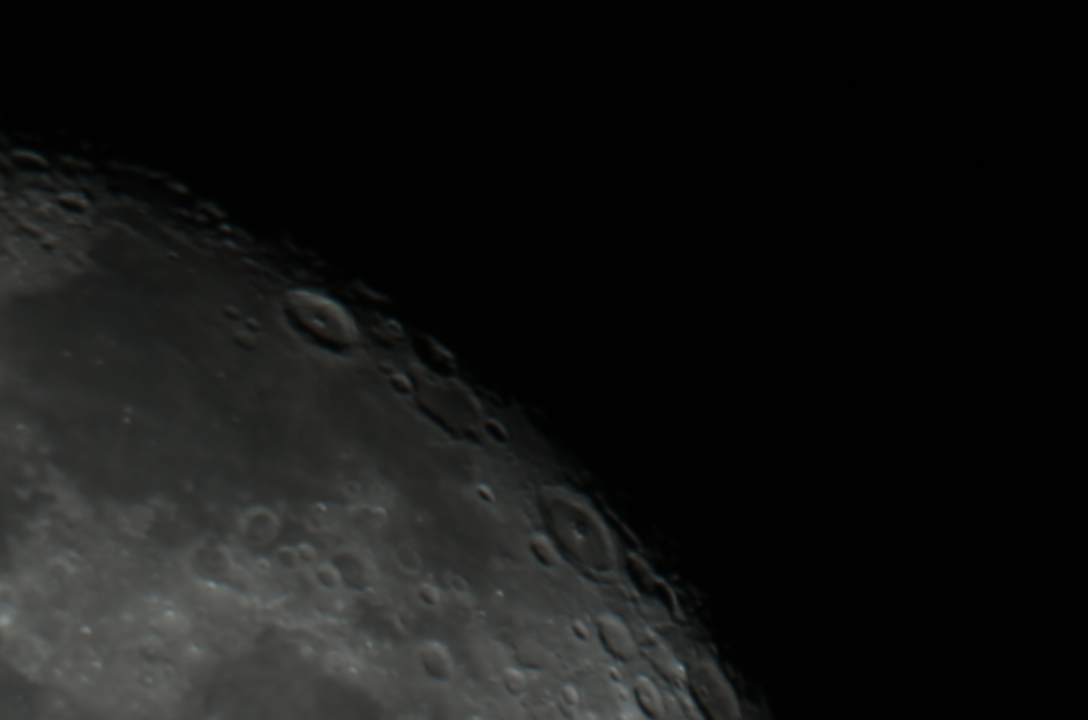

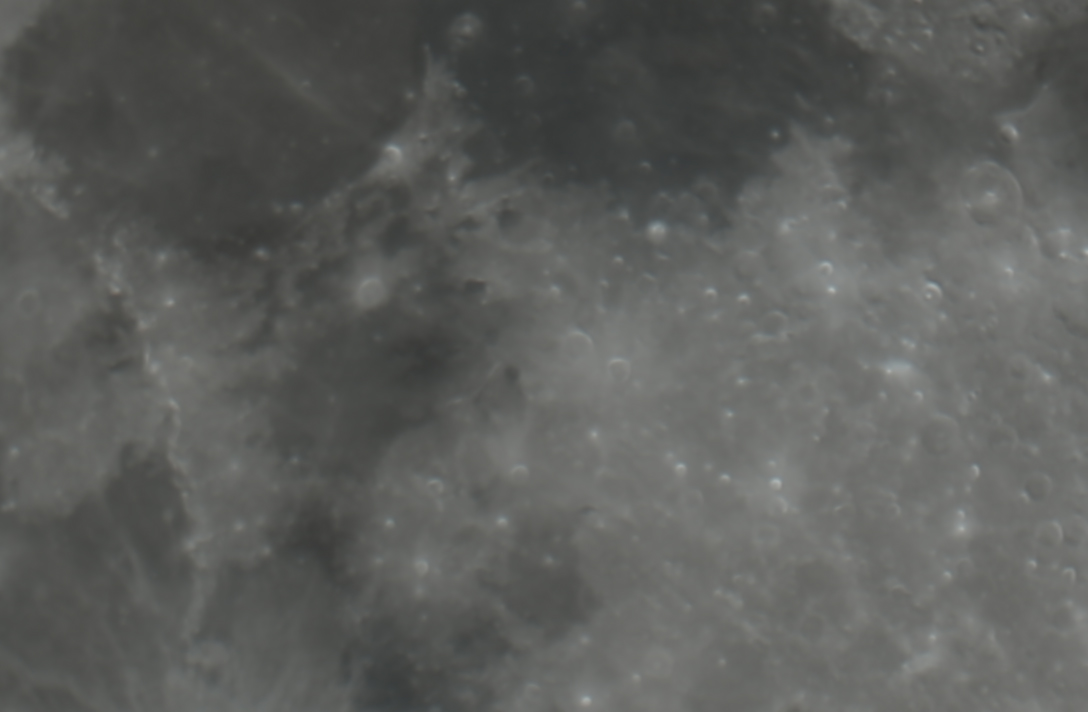
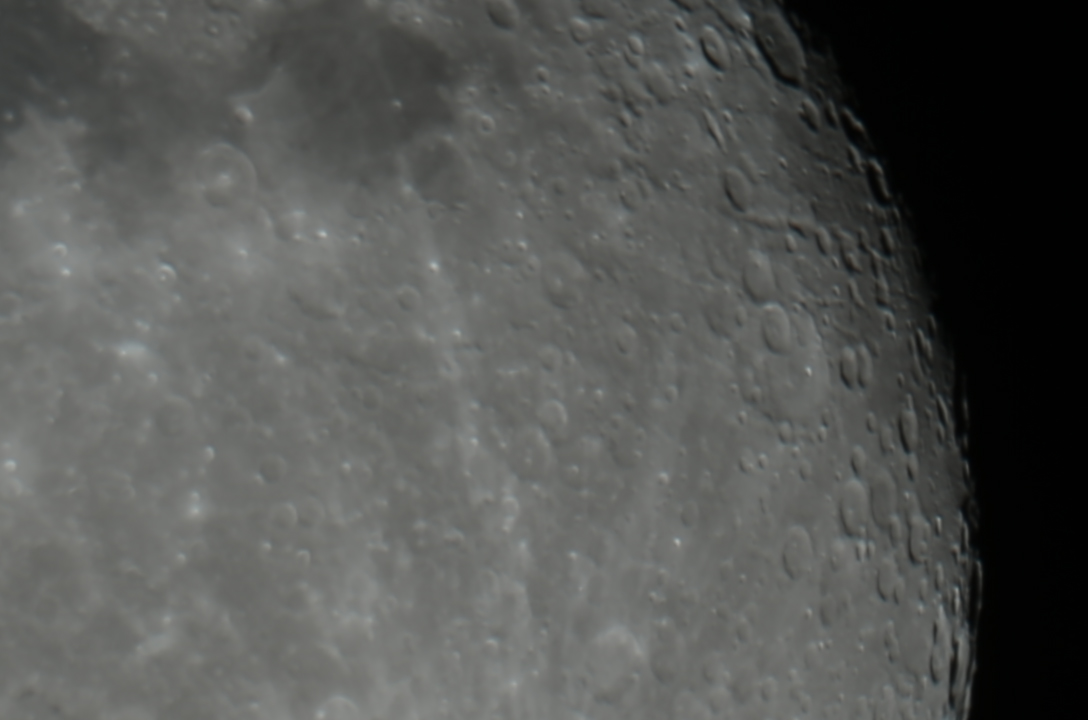
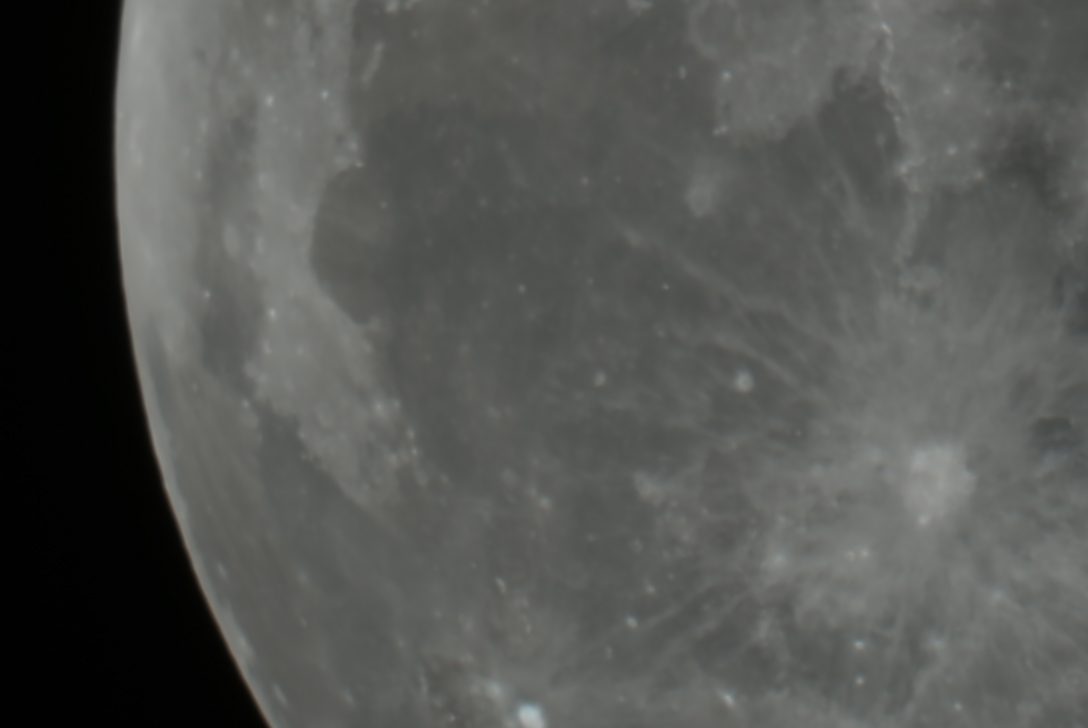
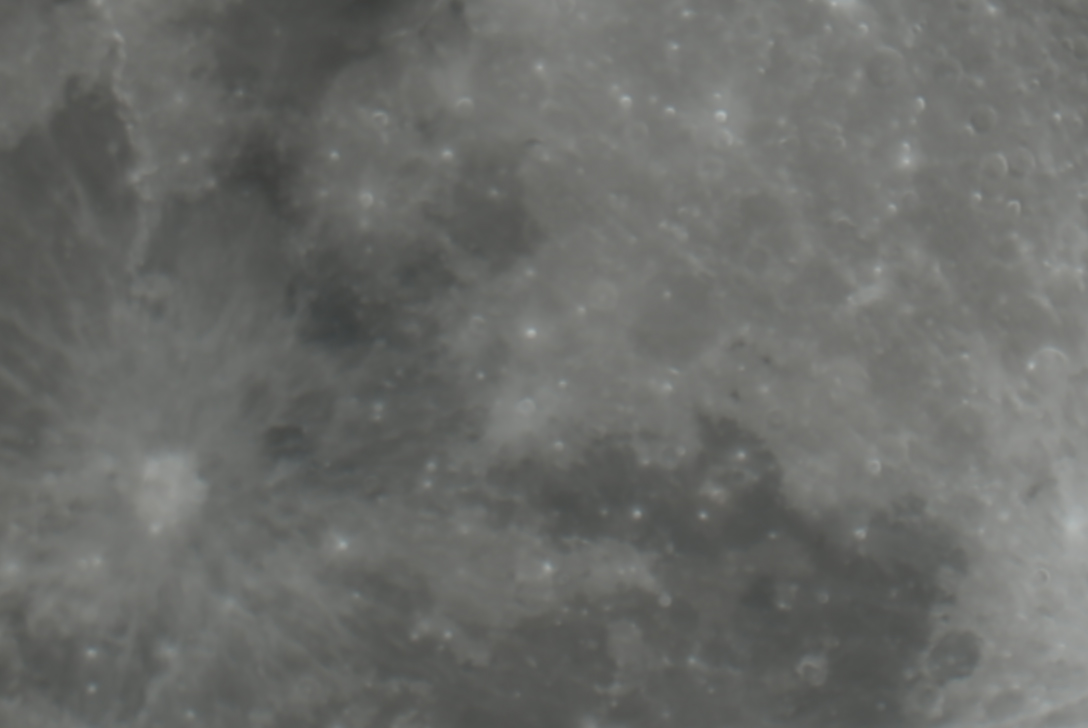
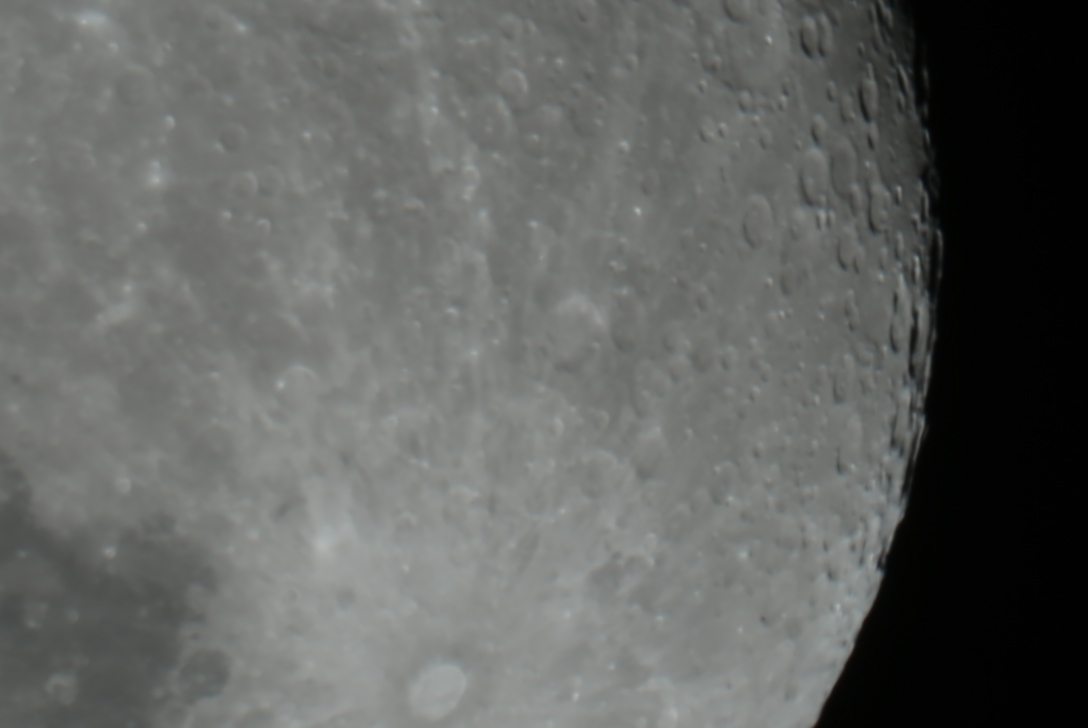
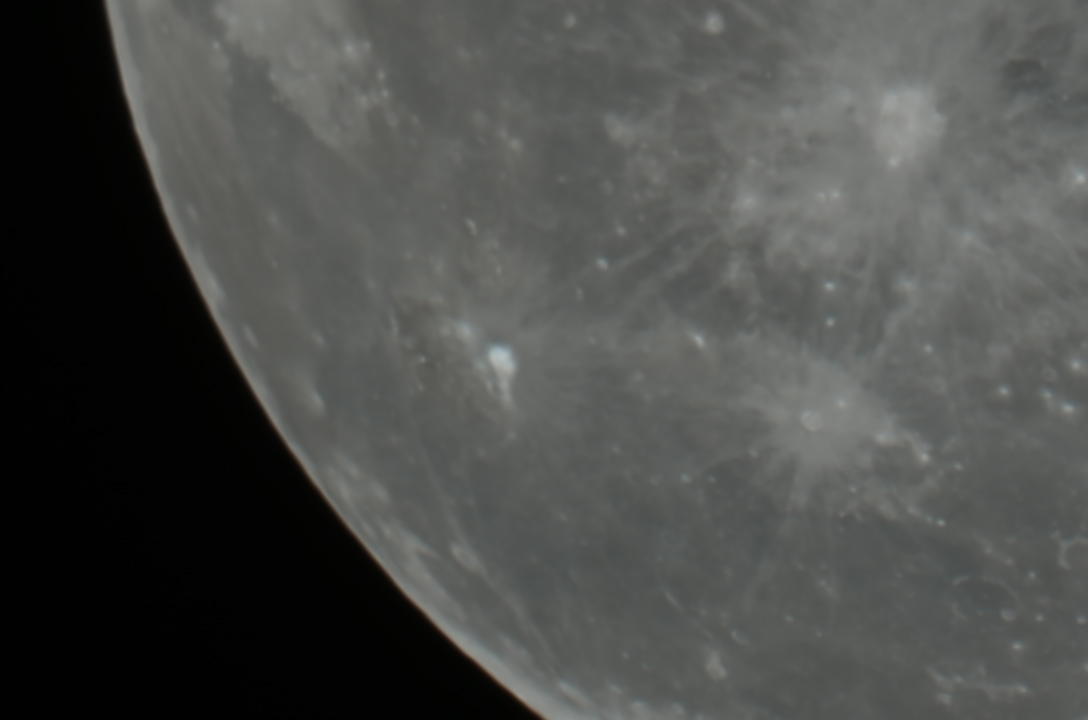
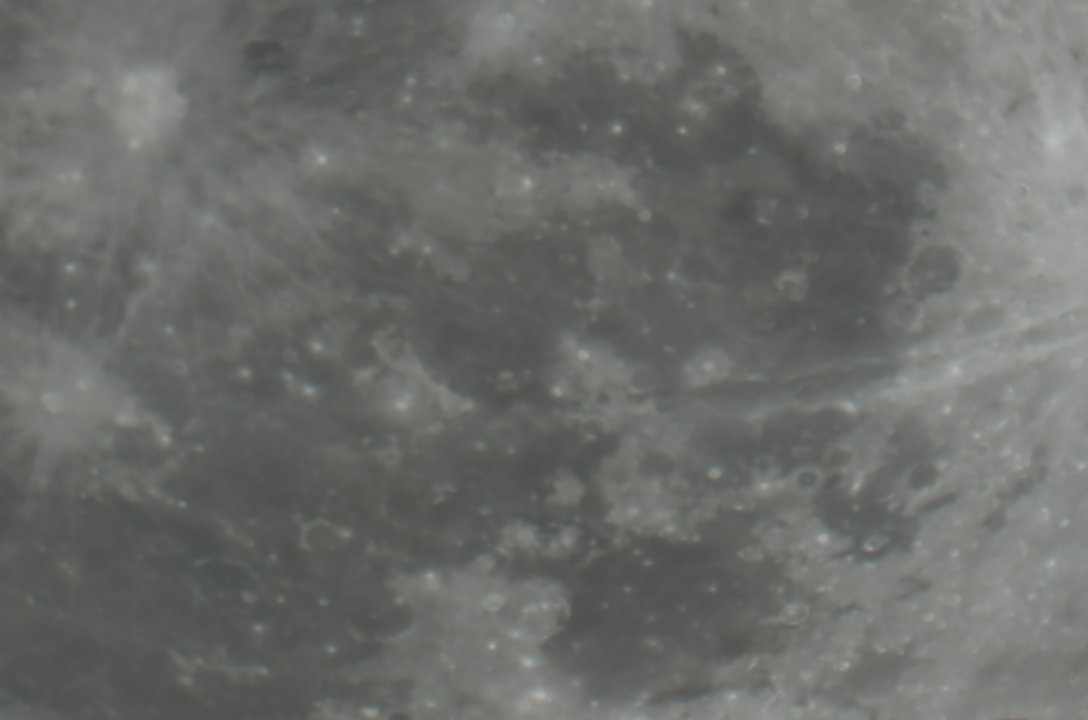
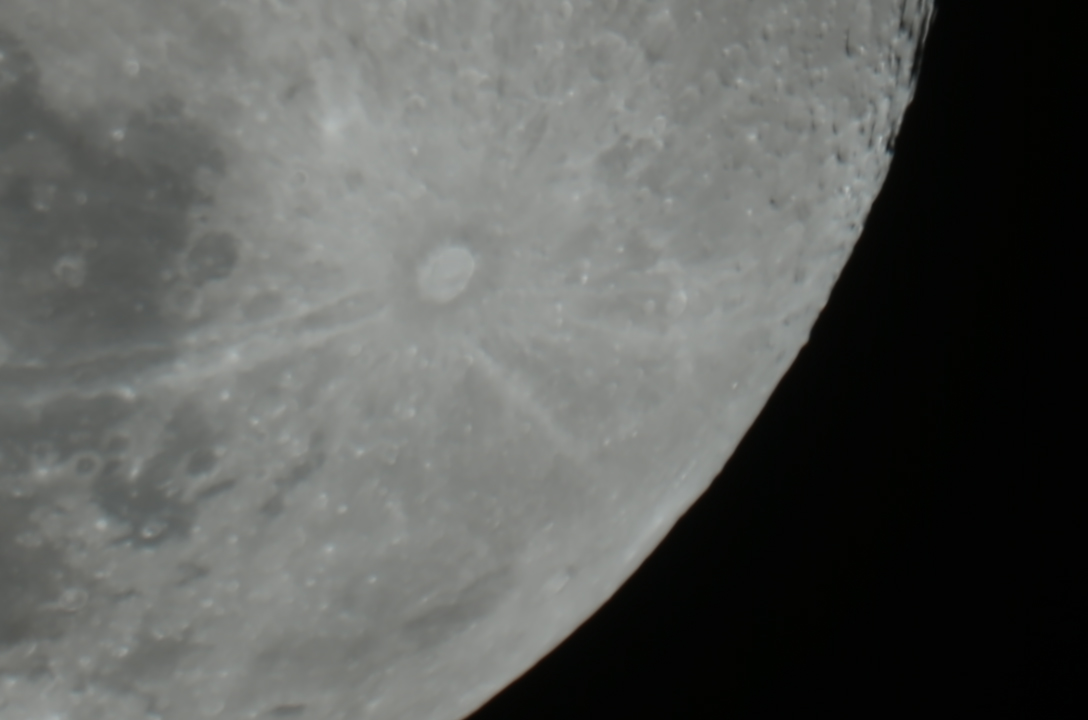
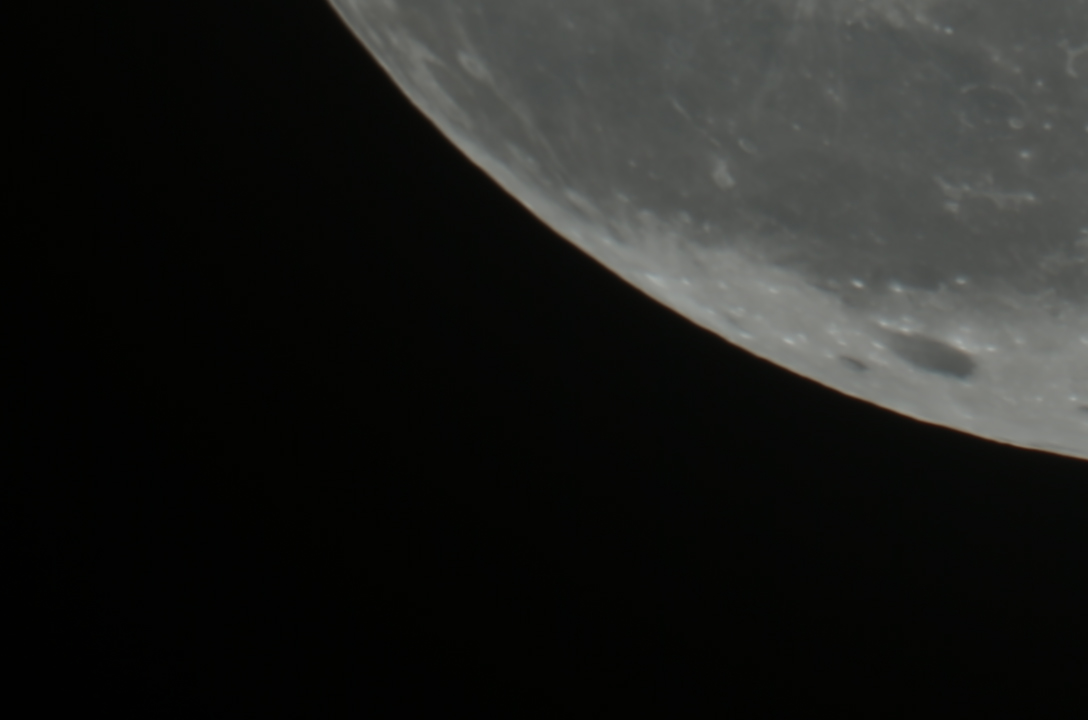
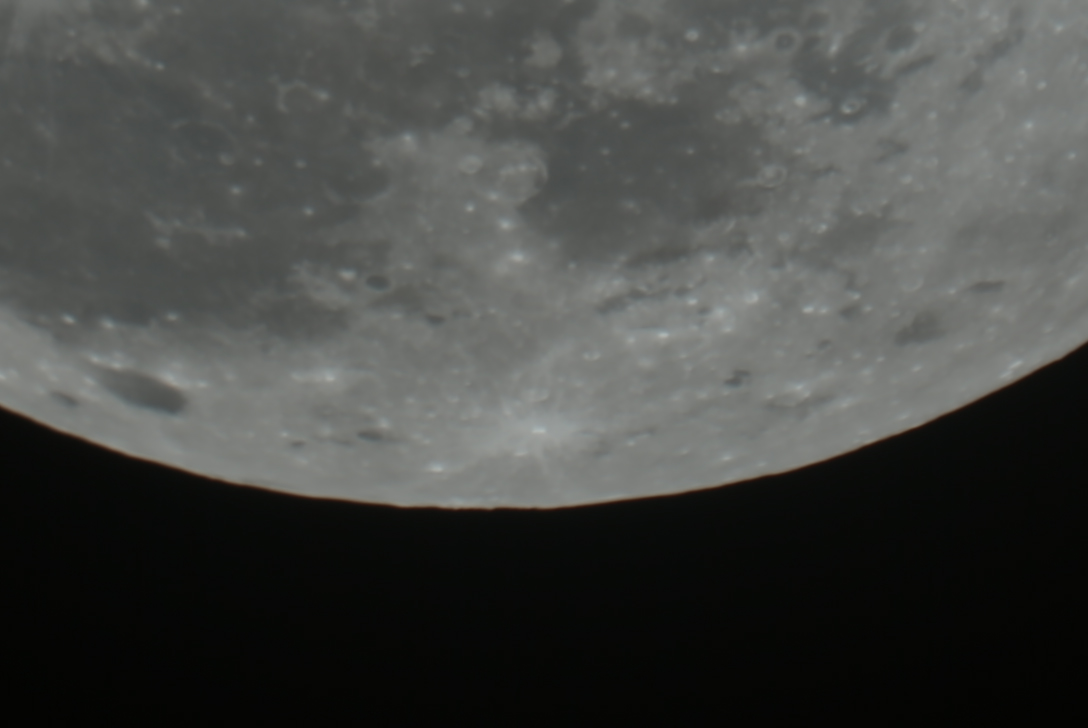
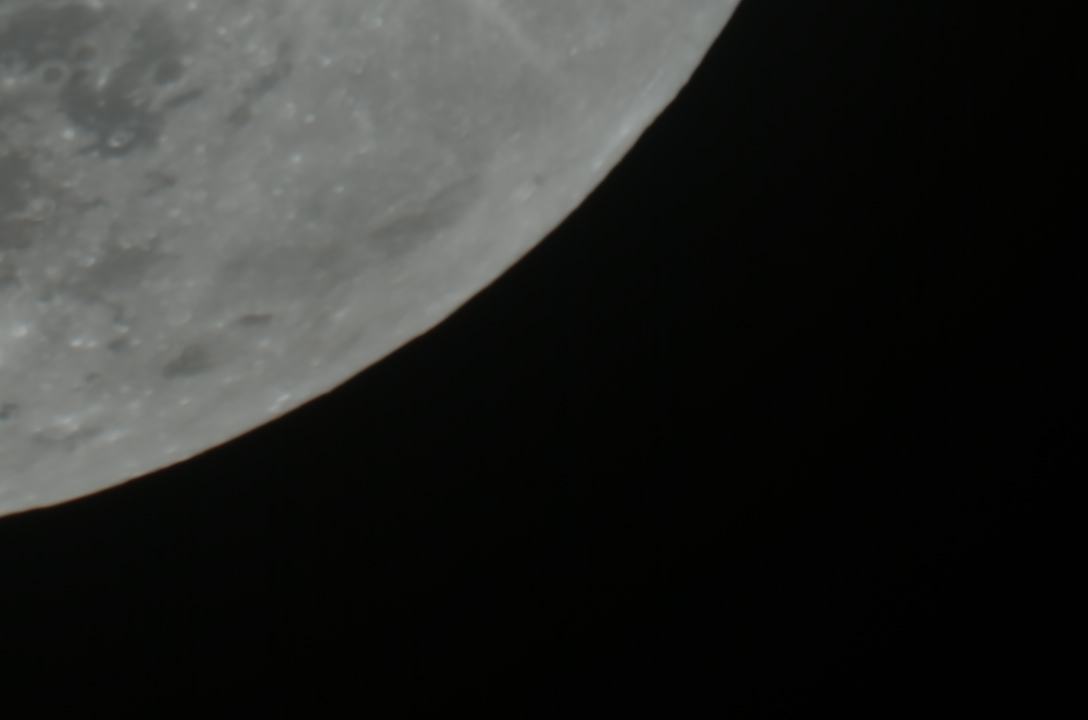
The pictures used above are .jpegs converted from the generated .tif files for display here, the .tifs were used for further processing. I was probably a bit overgenerous in the overlap and most likely could have gotten away with a 3×4 grid however as this was my first mosaic I considered it better to err on the side of caution than to have bits missing or not enough overlap for the stitching to work.
Stitching
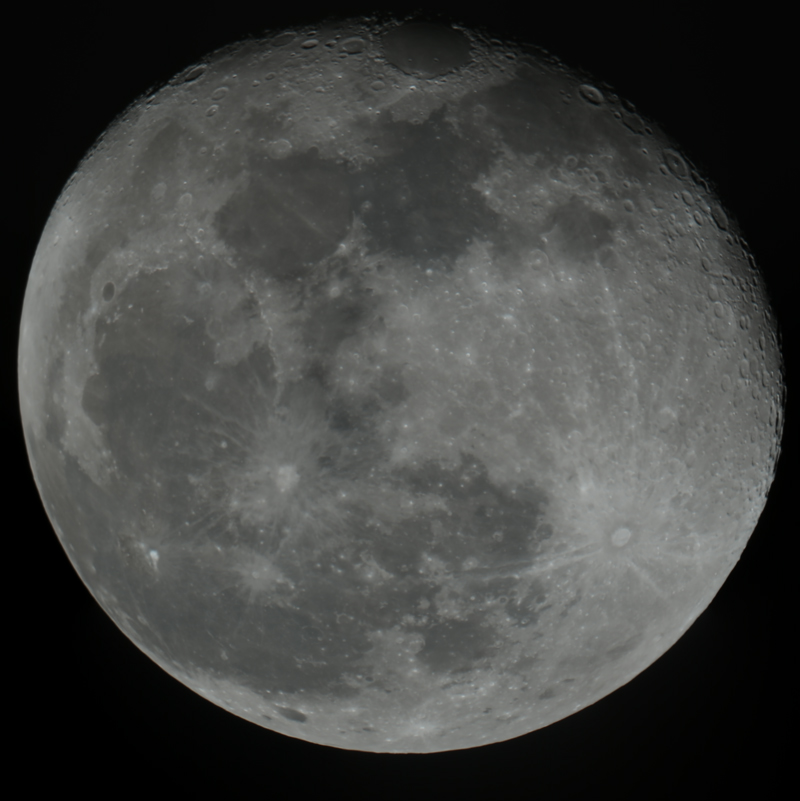
The next step of the process was to stitch each of the individual frames together to create one full disc image, this was done use Microsoft’s Image Composite Editor (ICE) which is very straight forward to use.
jpeg of stitched image
Wavelets in Registax
Personally I prefer AS!2 for stacking videos, however I still use Registax6 for wavelet sharpening to bring out the details of surface features such as crater edges etc.
Adjustments in Photoshop
Final touching up of the image is performed in Photoshop which in this case involved adjustments to :
- Levels to set the overall exposure of the image,
- Curves to adjust the contrast of the lunar regions,
- Saturation to bring out the natural colour of the different mineralisation,
- increasing the size of the background framing,
- Noise reduction,
Final product


